
 Here in the northeast, it is finally time for bellies in the grass and fingers in the dirt. It is the season where my children come home from school, but never actually make it into the house. They wander around, finally sinking into the grass with a book or the toys that were played with the day before.
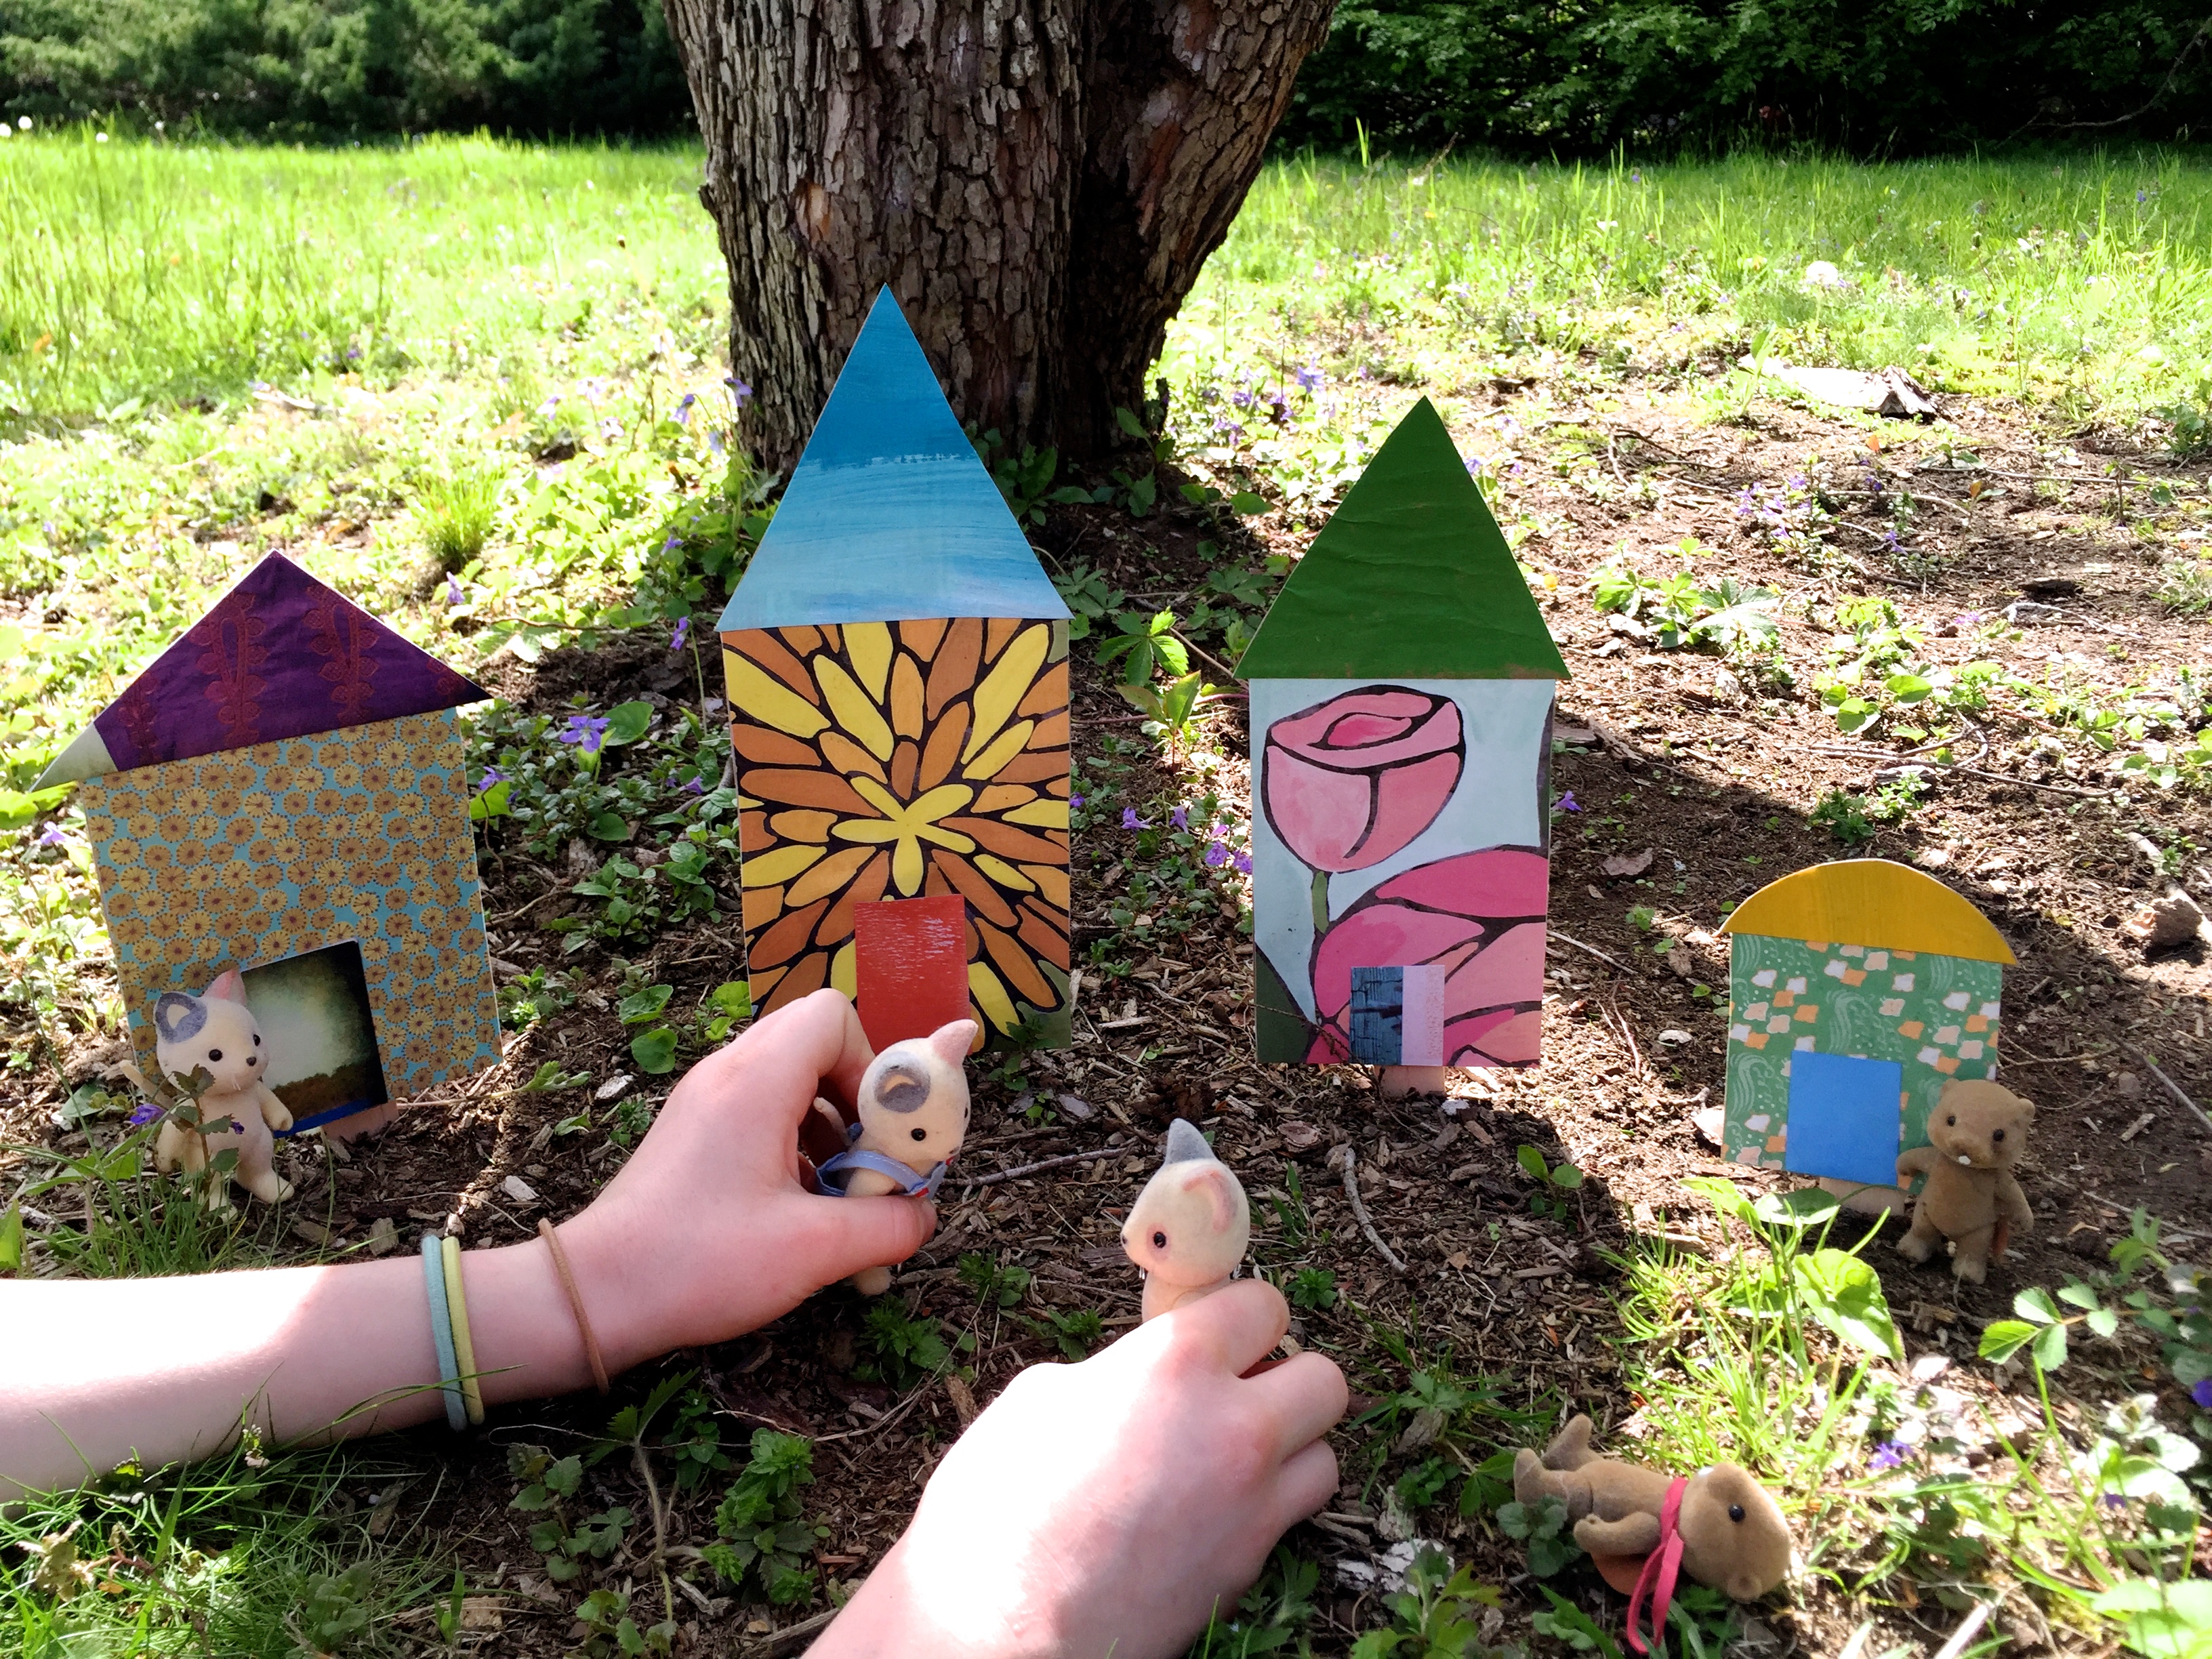
I was watching my youngest play with his tiny creatures, and it struck me: we can make tiny homes for his friends! I mean, the tiny toys already live in the garden, but now they could actually live in the garden. Similar to the Story City project in my book Show Me a Story, these are movable, storytelling props that will transform a grassy patch into a busy neighborhood for mice, chipmunks, etc. In the end, we found out that garden neighborhoods are fun for people of all ages — even 39 year olds (ahem).
 This project uses some of my favorite materials: cereal boxes (shout out to Barbara’s Multigrain Spoonfuls) and bits of scrap paper (the paper for this project is a mix of origami, catalogs, painted paper bags, and a gorgeous old calendar). Materials:
- cereal box
- scrap paper
- scissors
- ruler
- pencil
- Mod Podge (and a foam brush for spreading)
- glue stick
- wide craft sticks
- duct tape
Cut open a cereal box, and flatten it on a table.
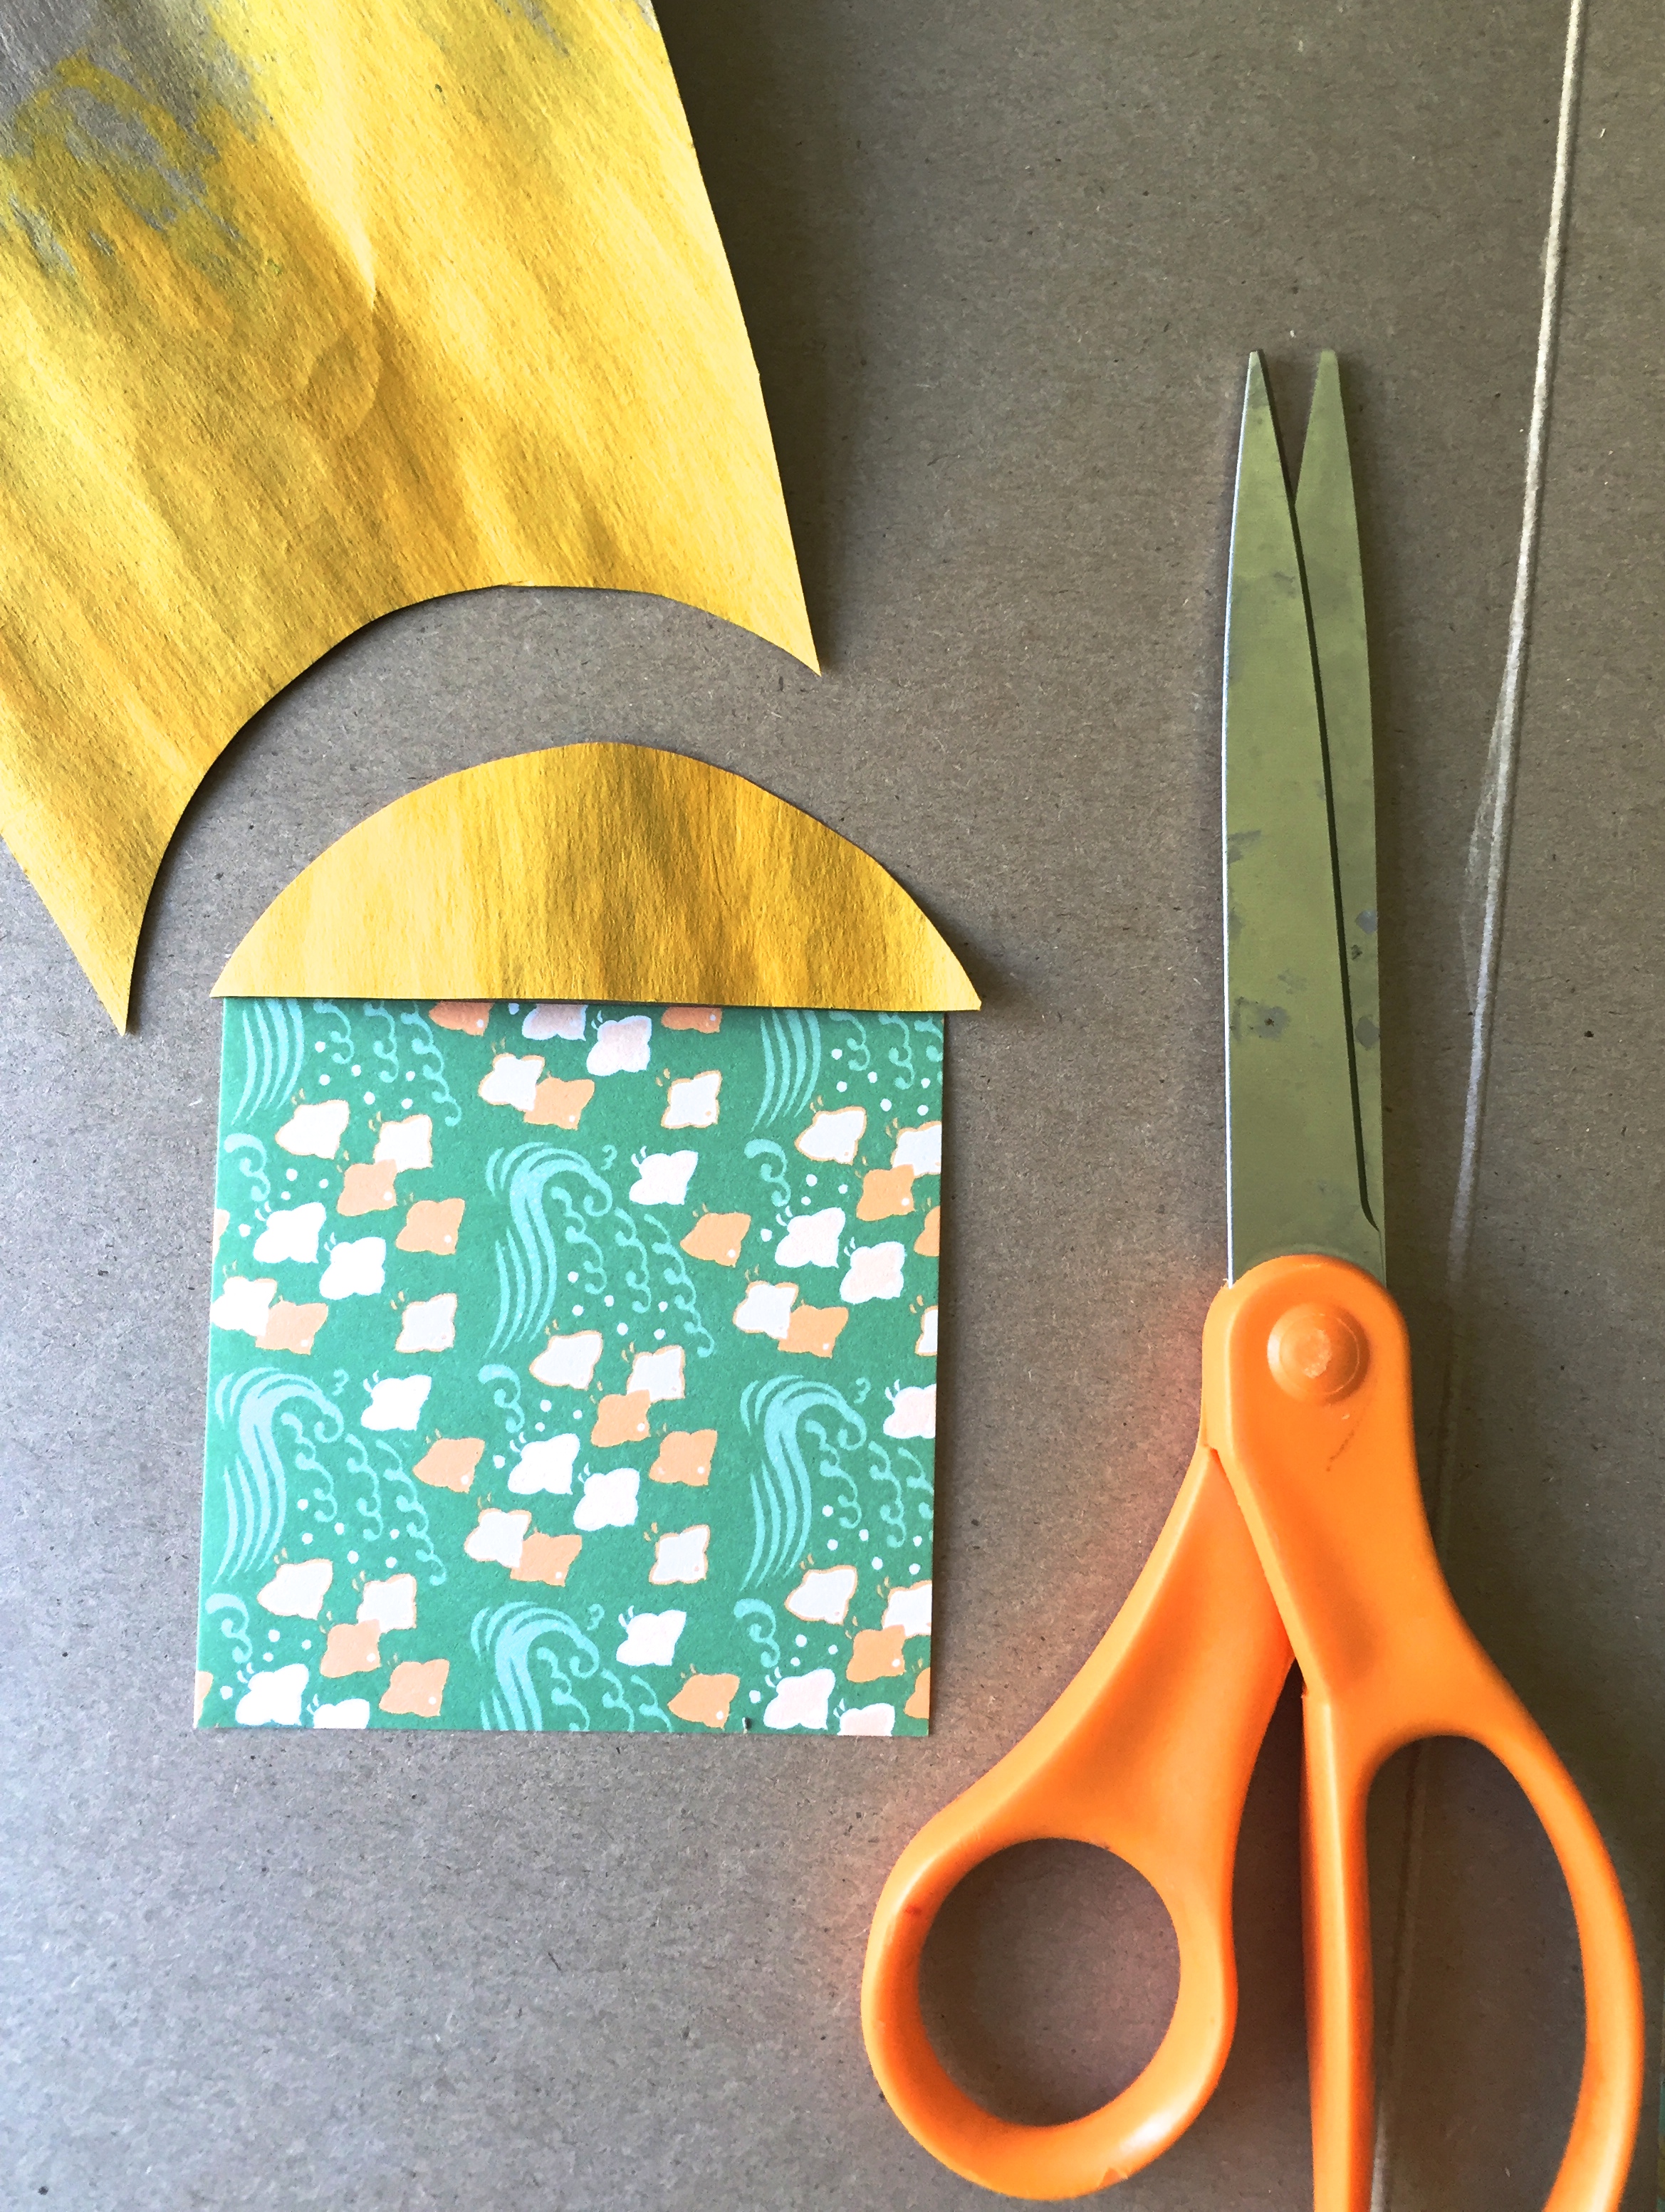
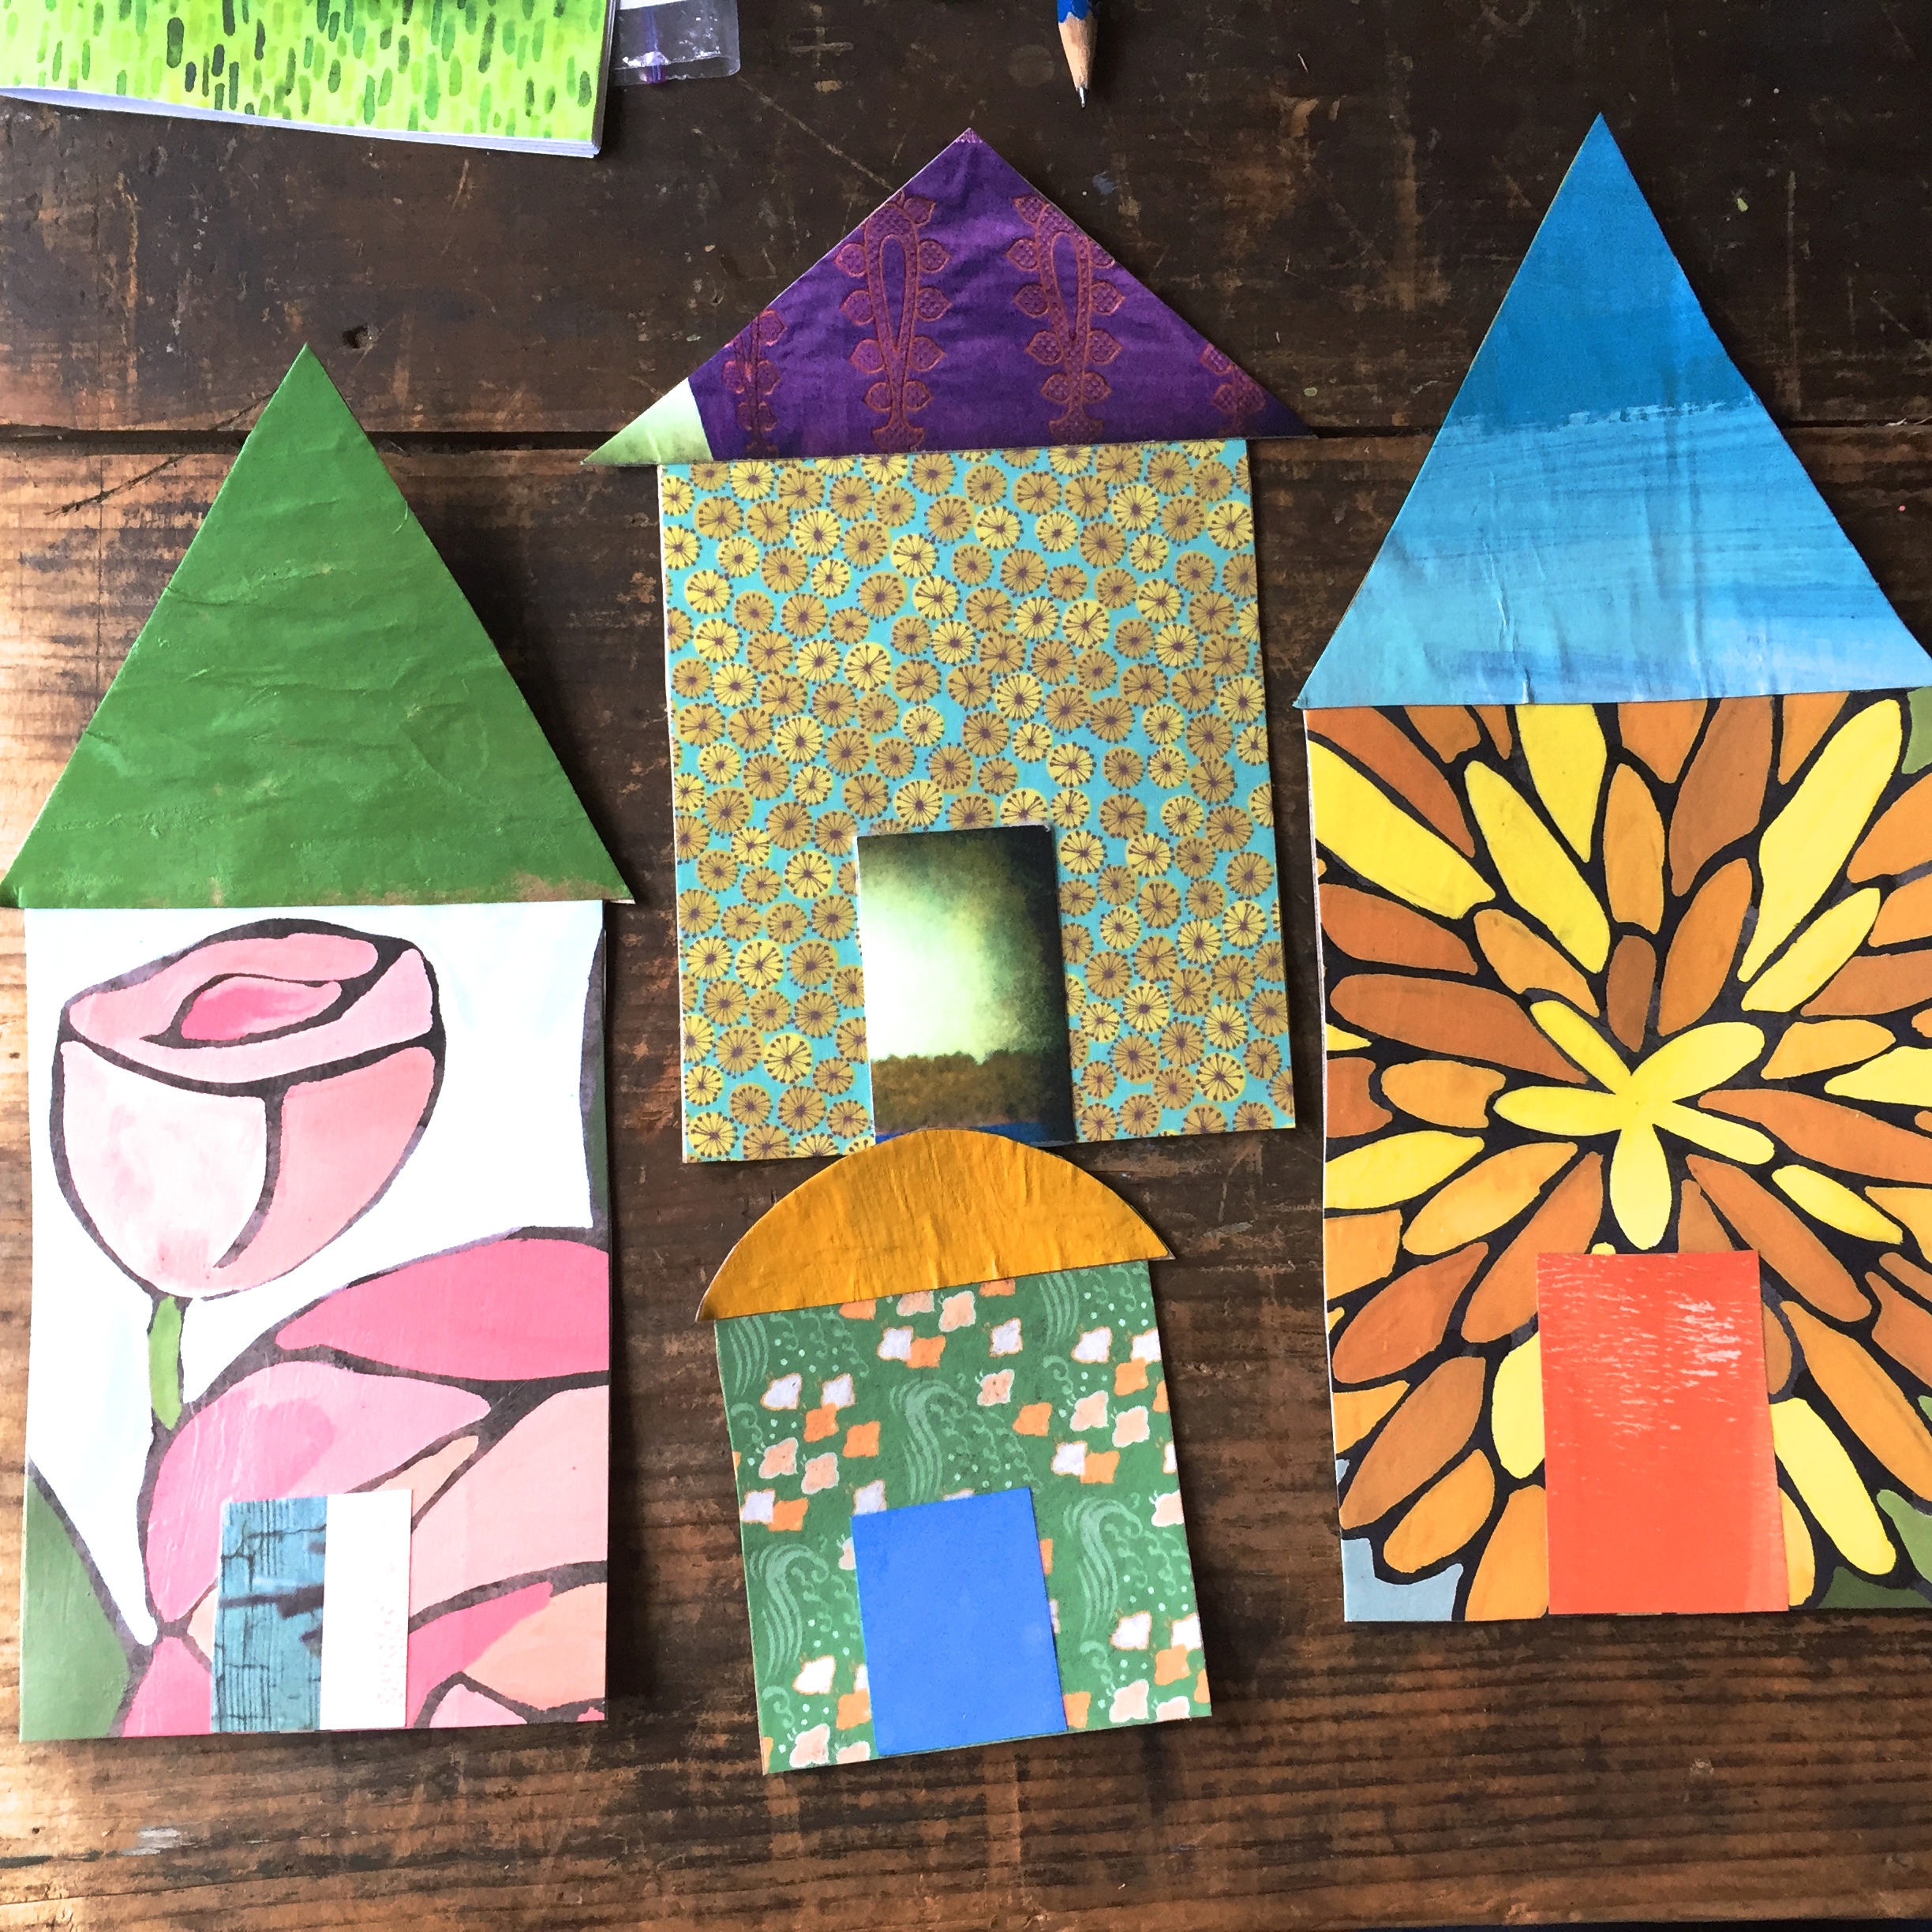
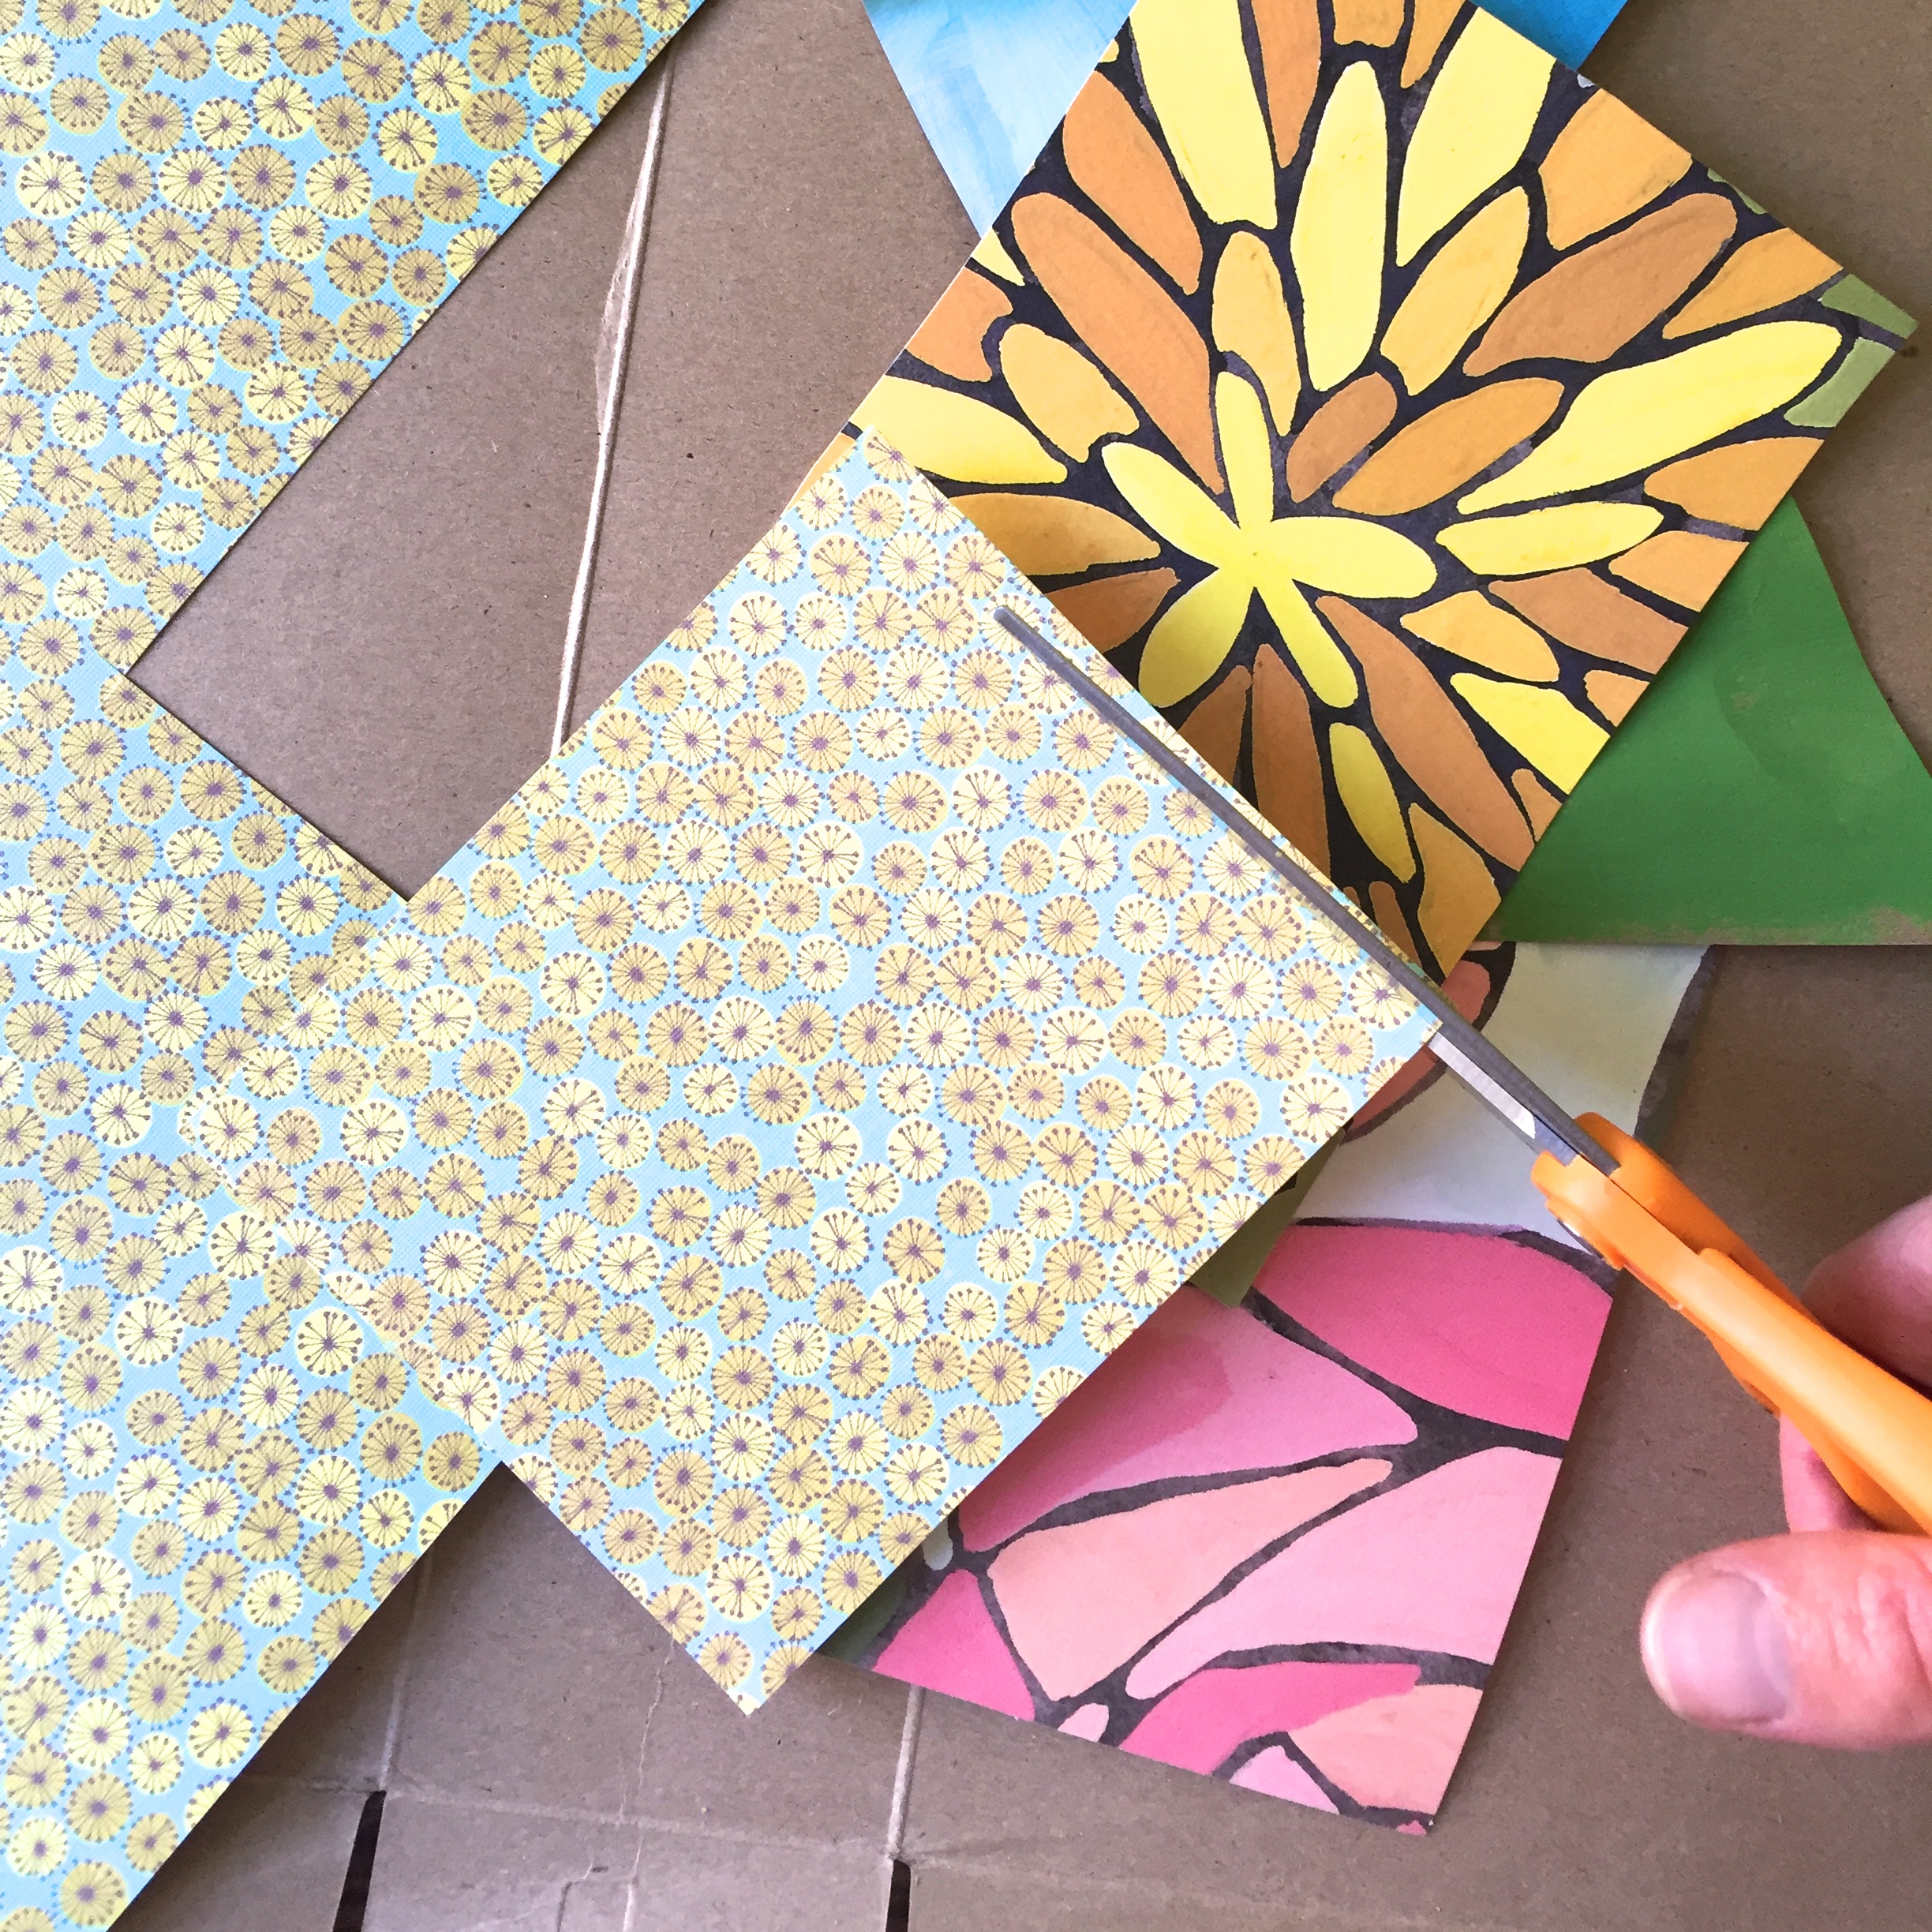 Use a ruler and pencil to draw squares, triangles, semi-circles, pentagons, etc. on the scrap paper. These will be the houses and roofs. Experiment wildly with various shapes. Cut the shapes out. Remember: wobbly lines and uneven shapes give houses personality.
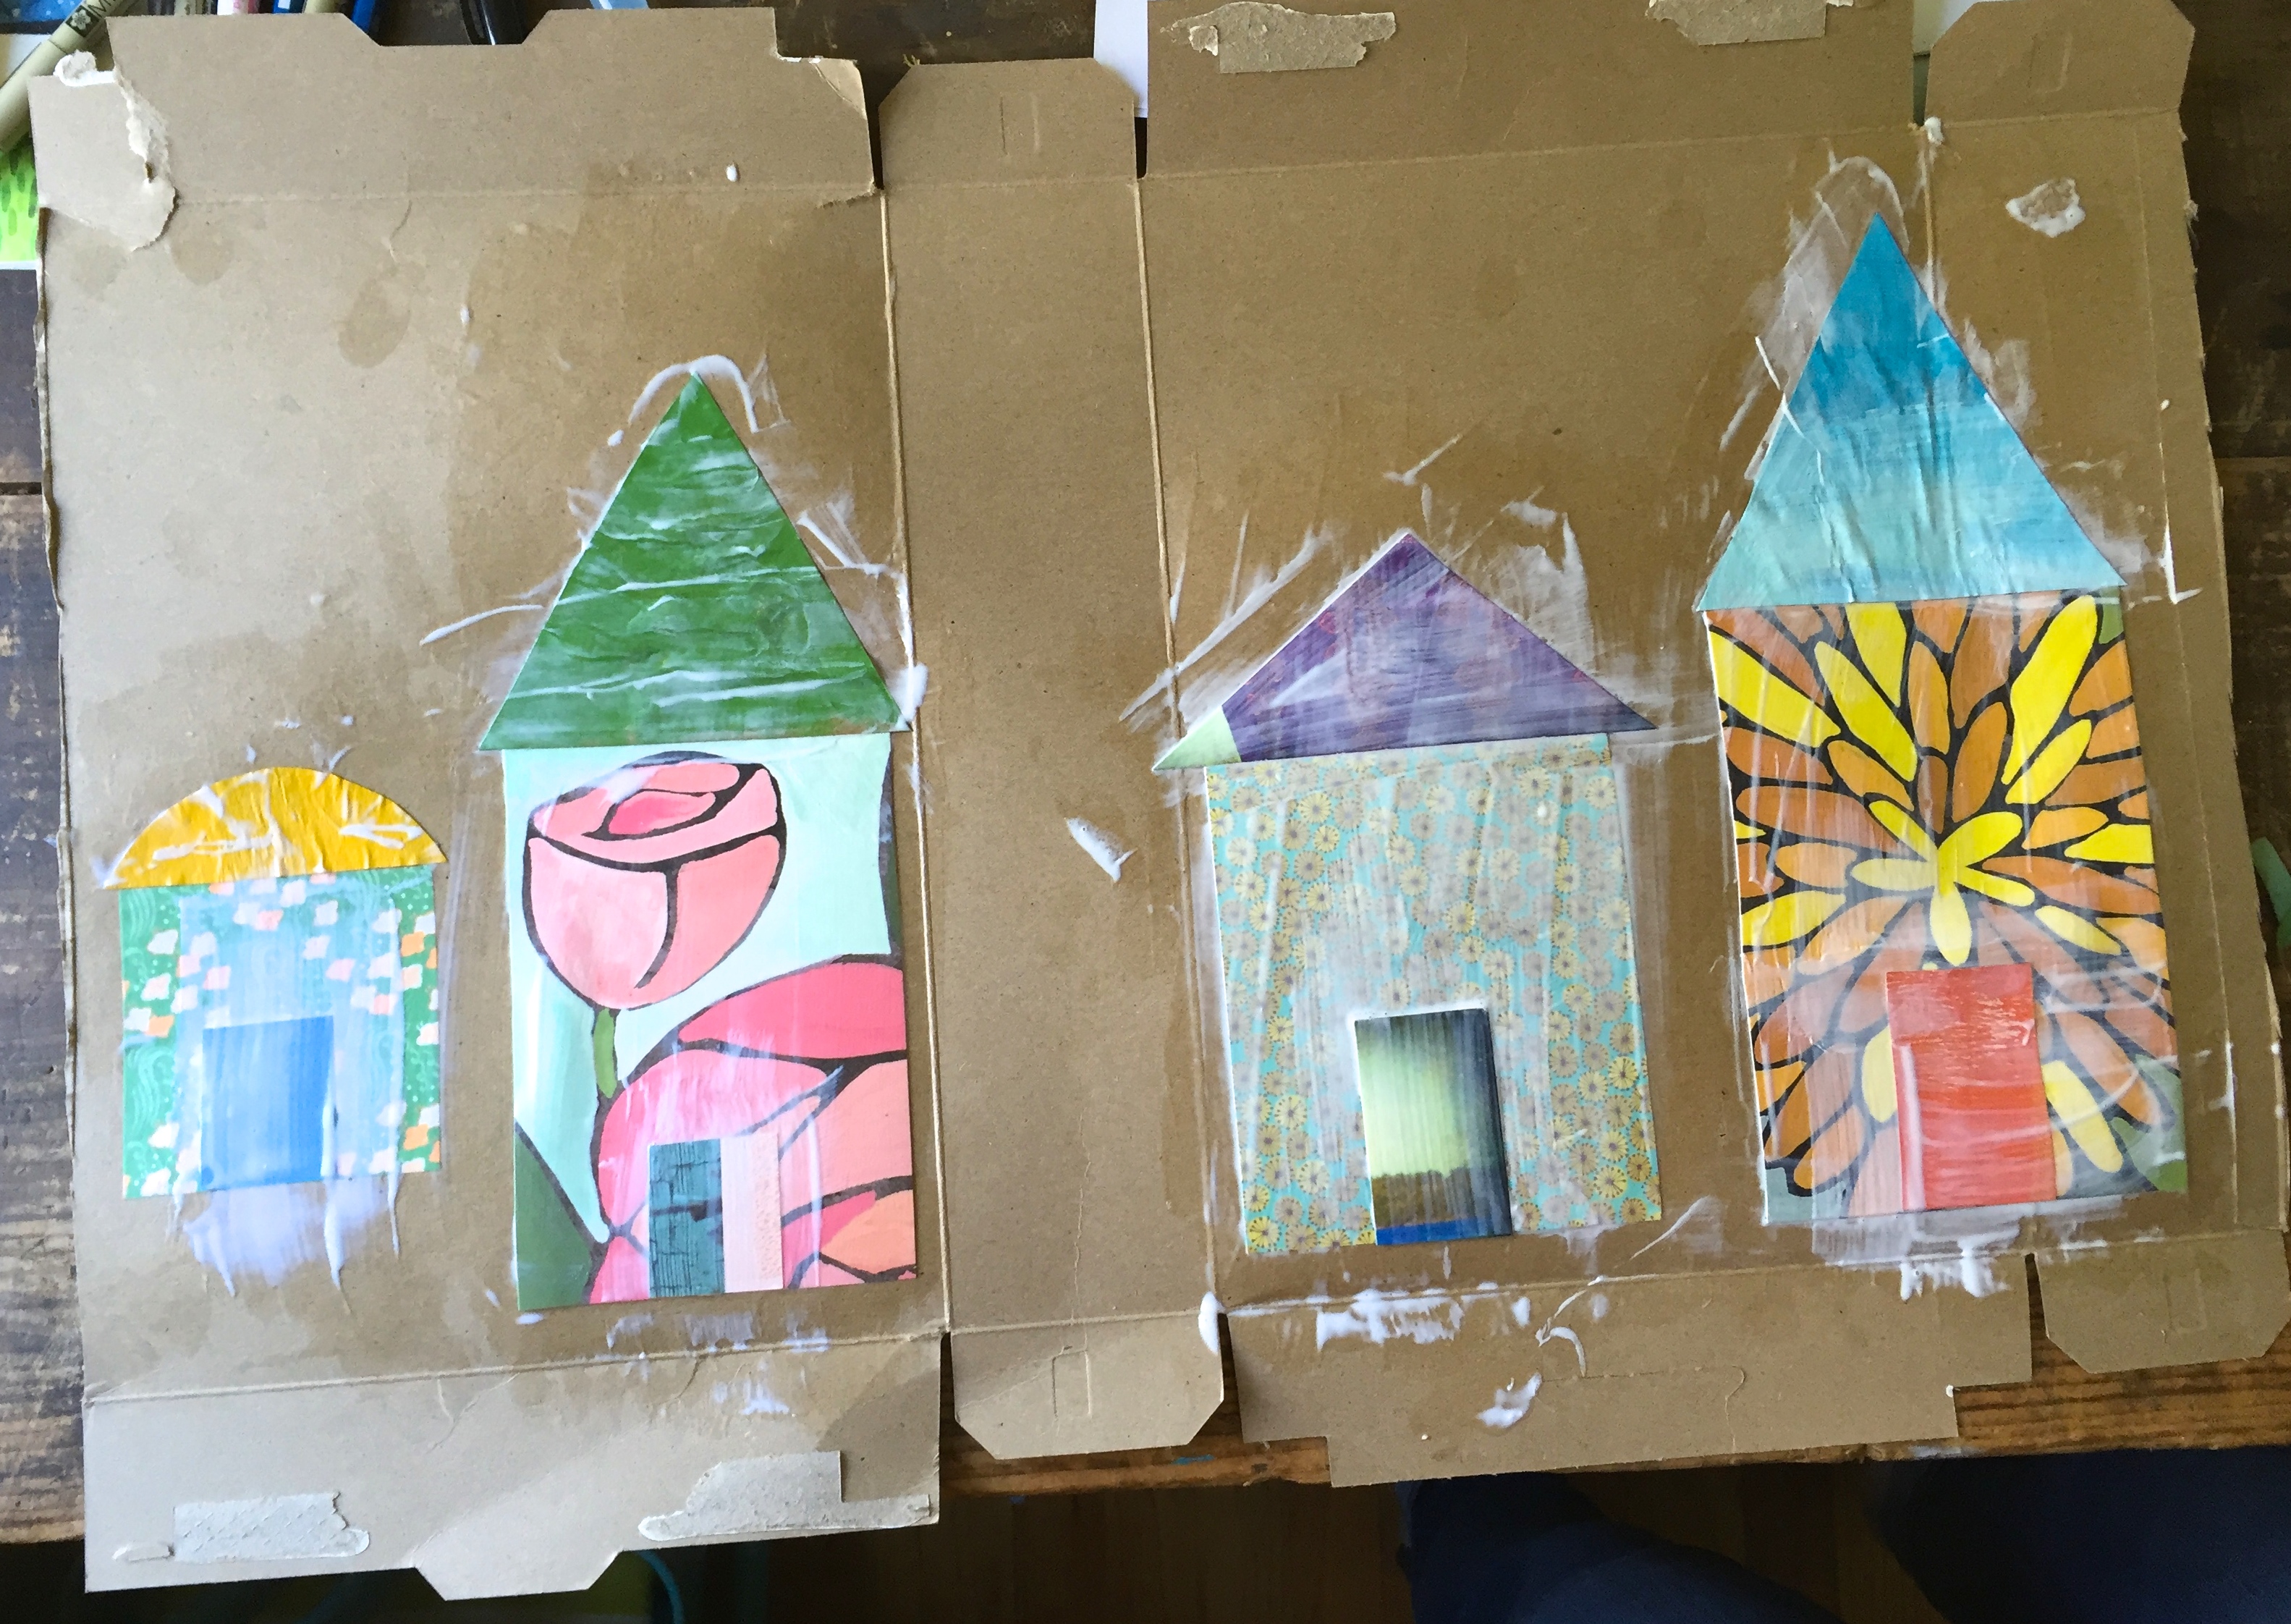
Use the glue stick to adhere the shapes onto the cereal box. I used Mod Podge for this particular project, and I quickly remembered that gluing the paper down before the Mod Podge step prevents air bubbles. It is all a much easier, happier process if you glue first.
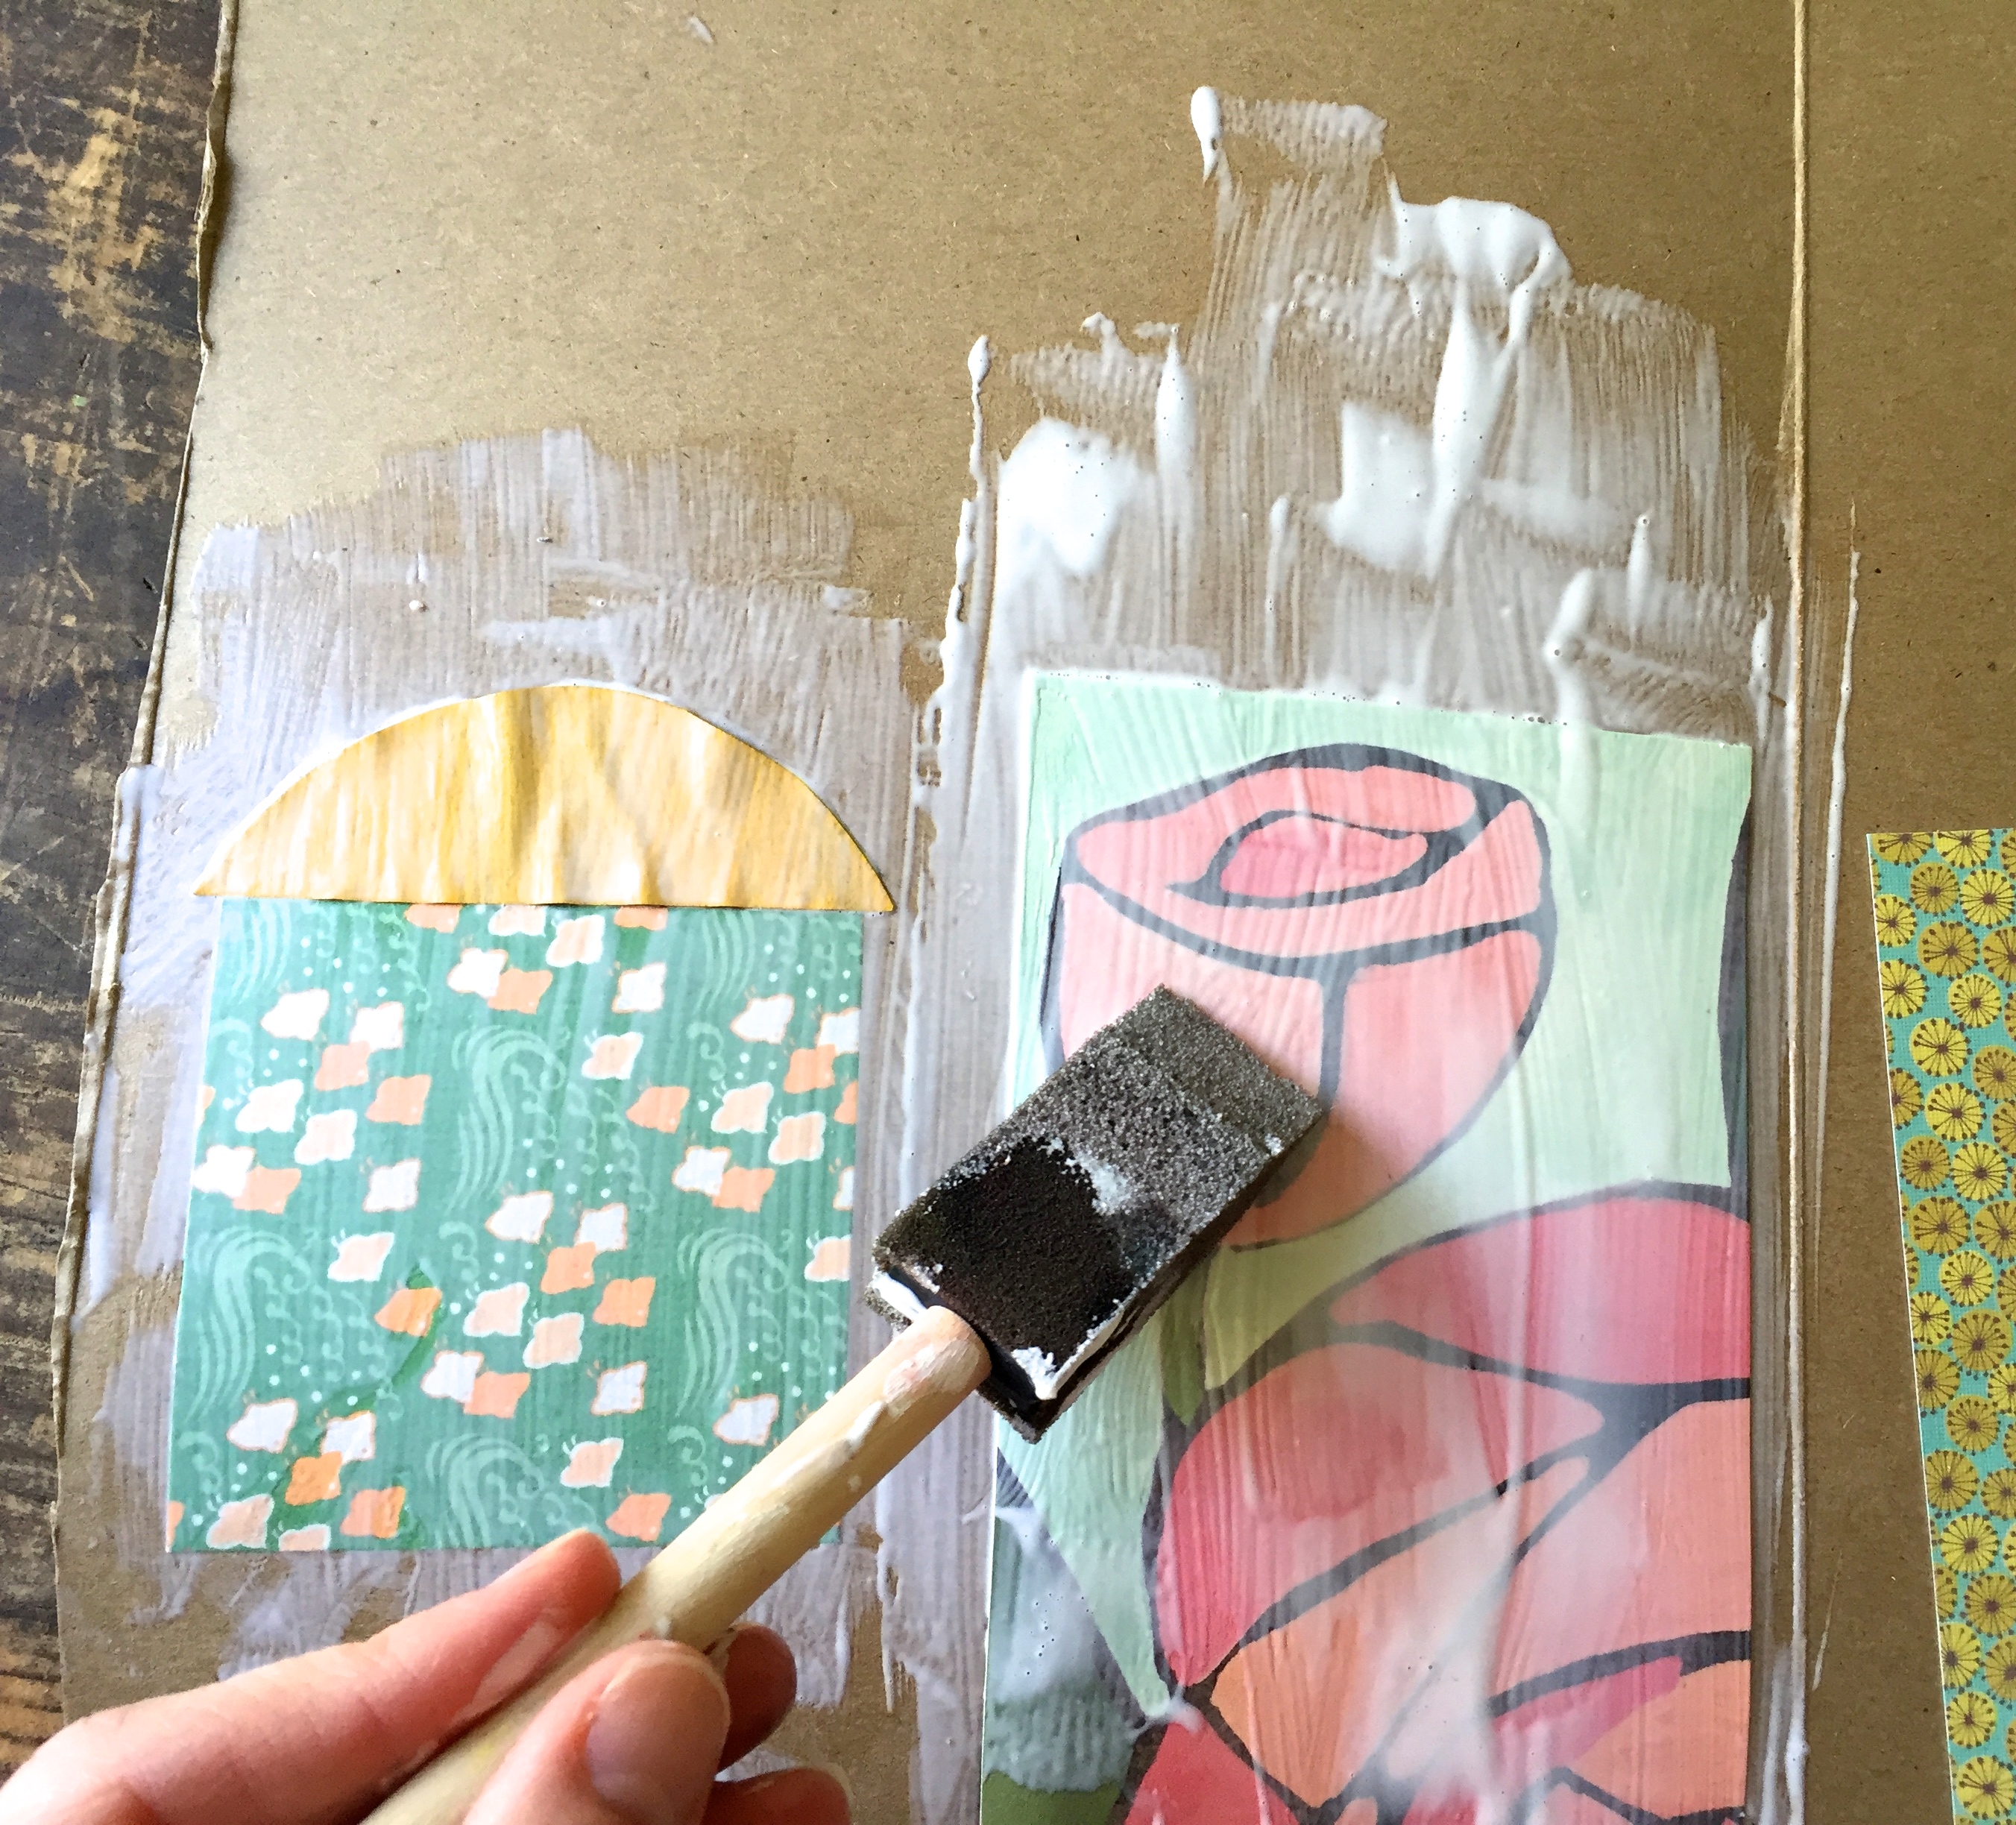 Once the shapes are fixed to the cereal box in the way you like, coat the houses with a thin layer of Mod Podge.
Cut small squares for doors and windows if you feel inspired. Add them, and then coat with Mod Podge again. If you notice the paper bubbling up, smooth the air bubbles with your fingers. Smooth the paper a few times until it is all dry.
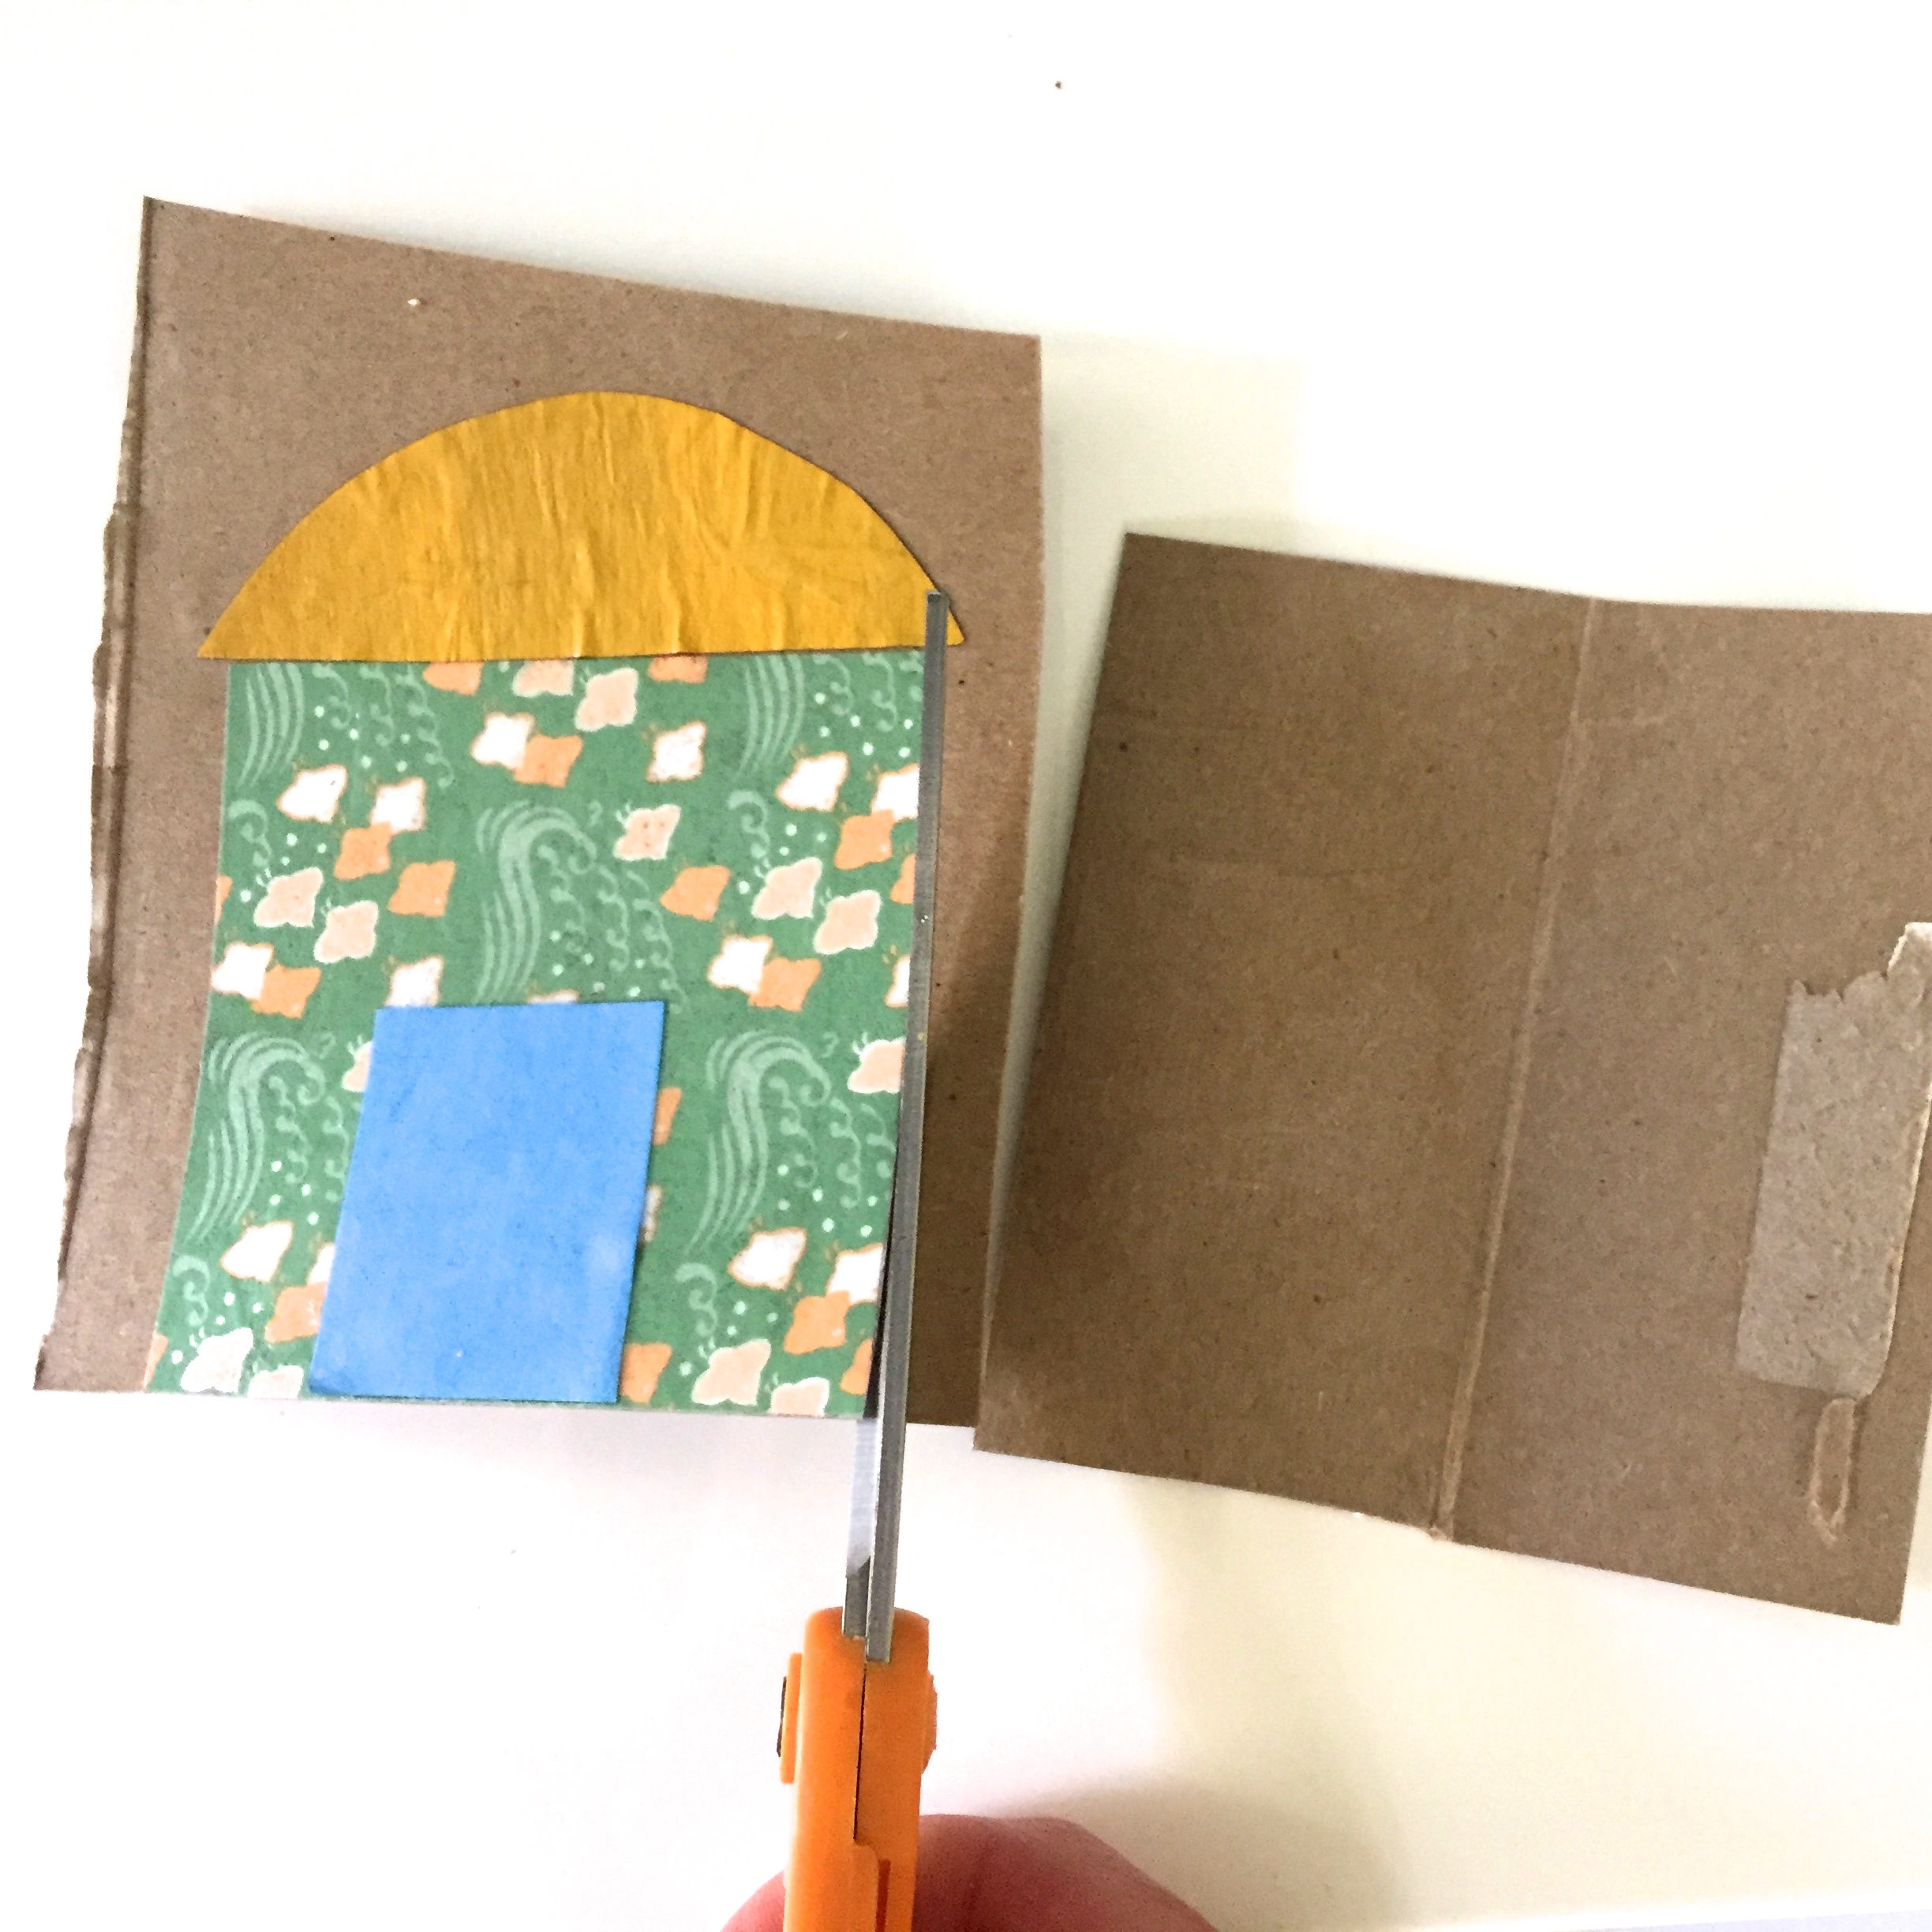
Once the houses are dry, cut out each house.
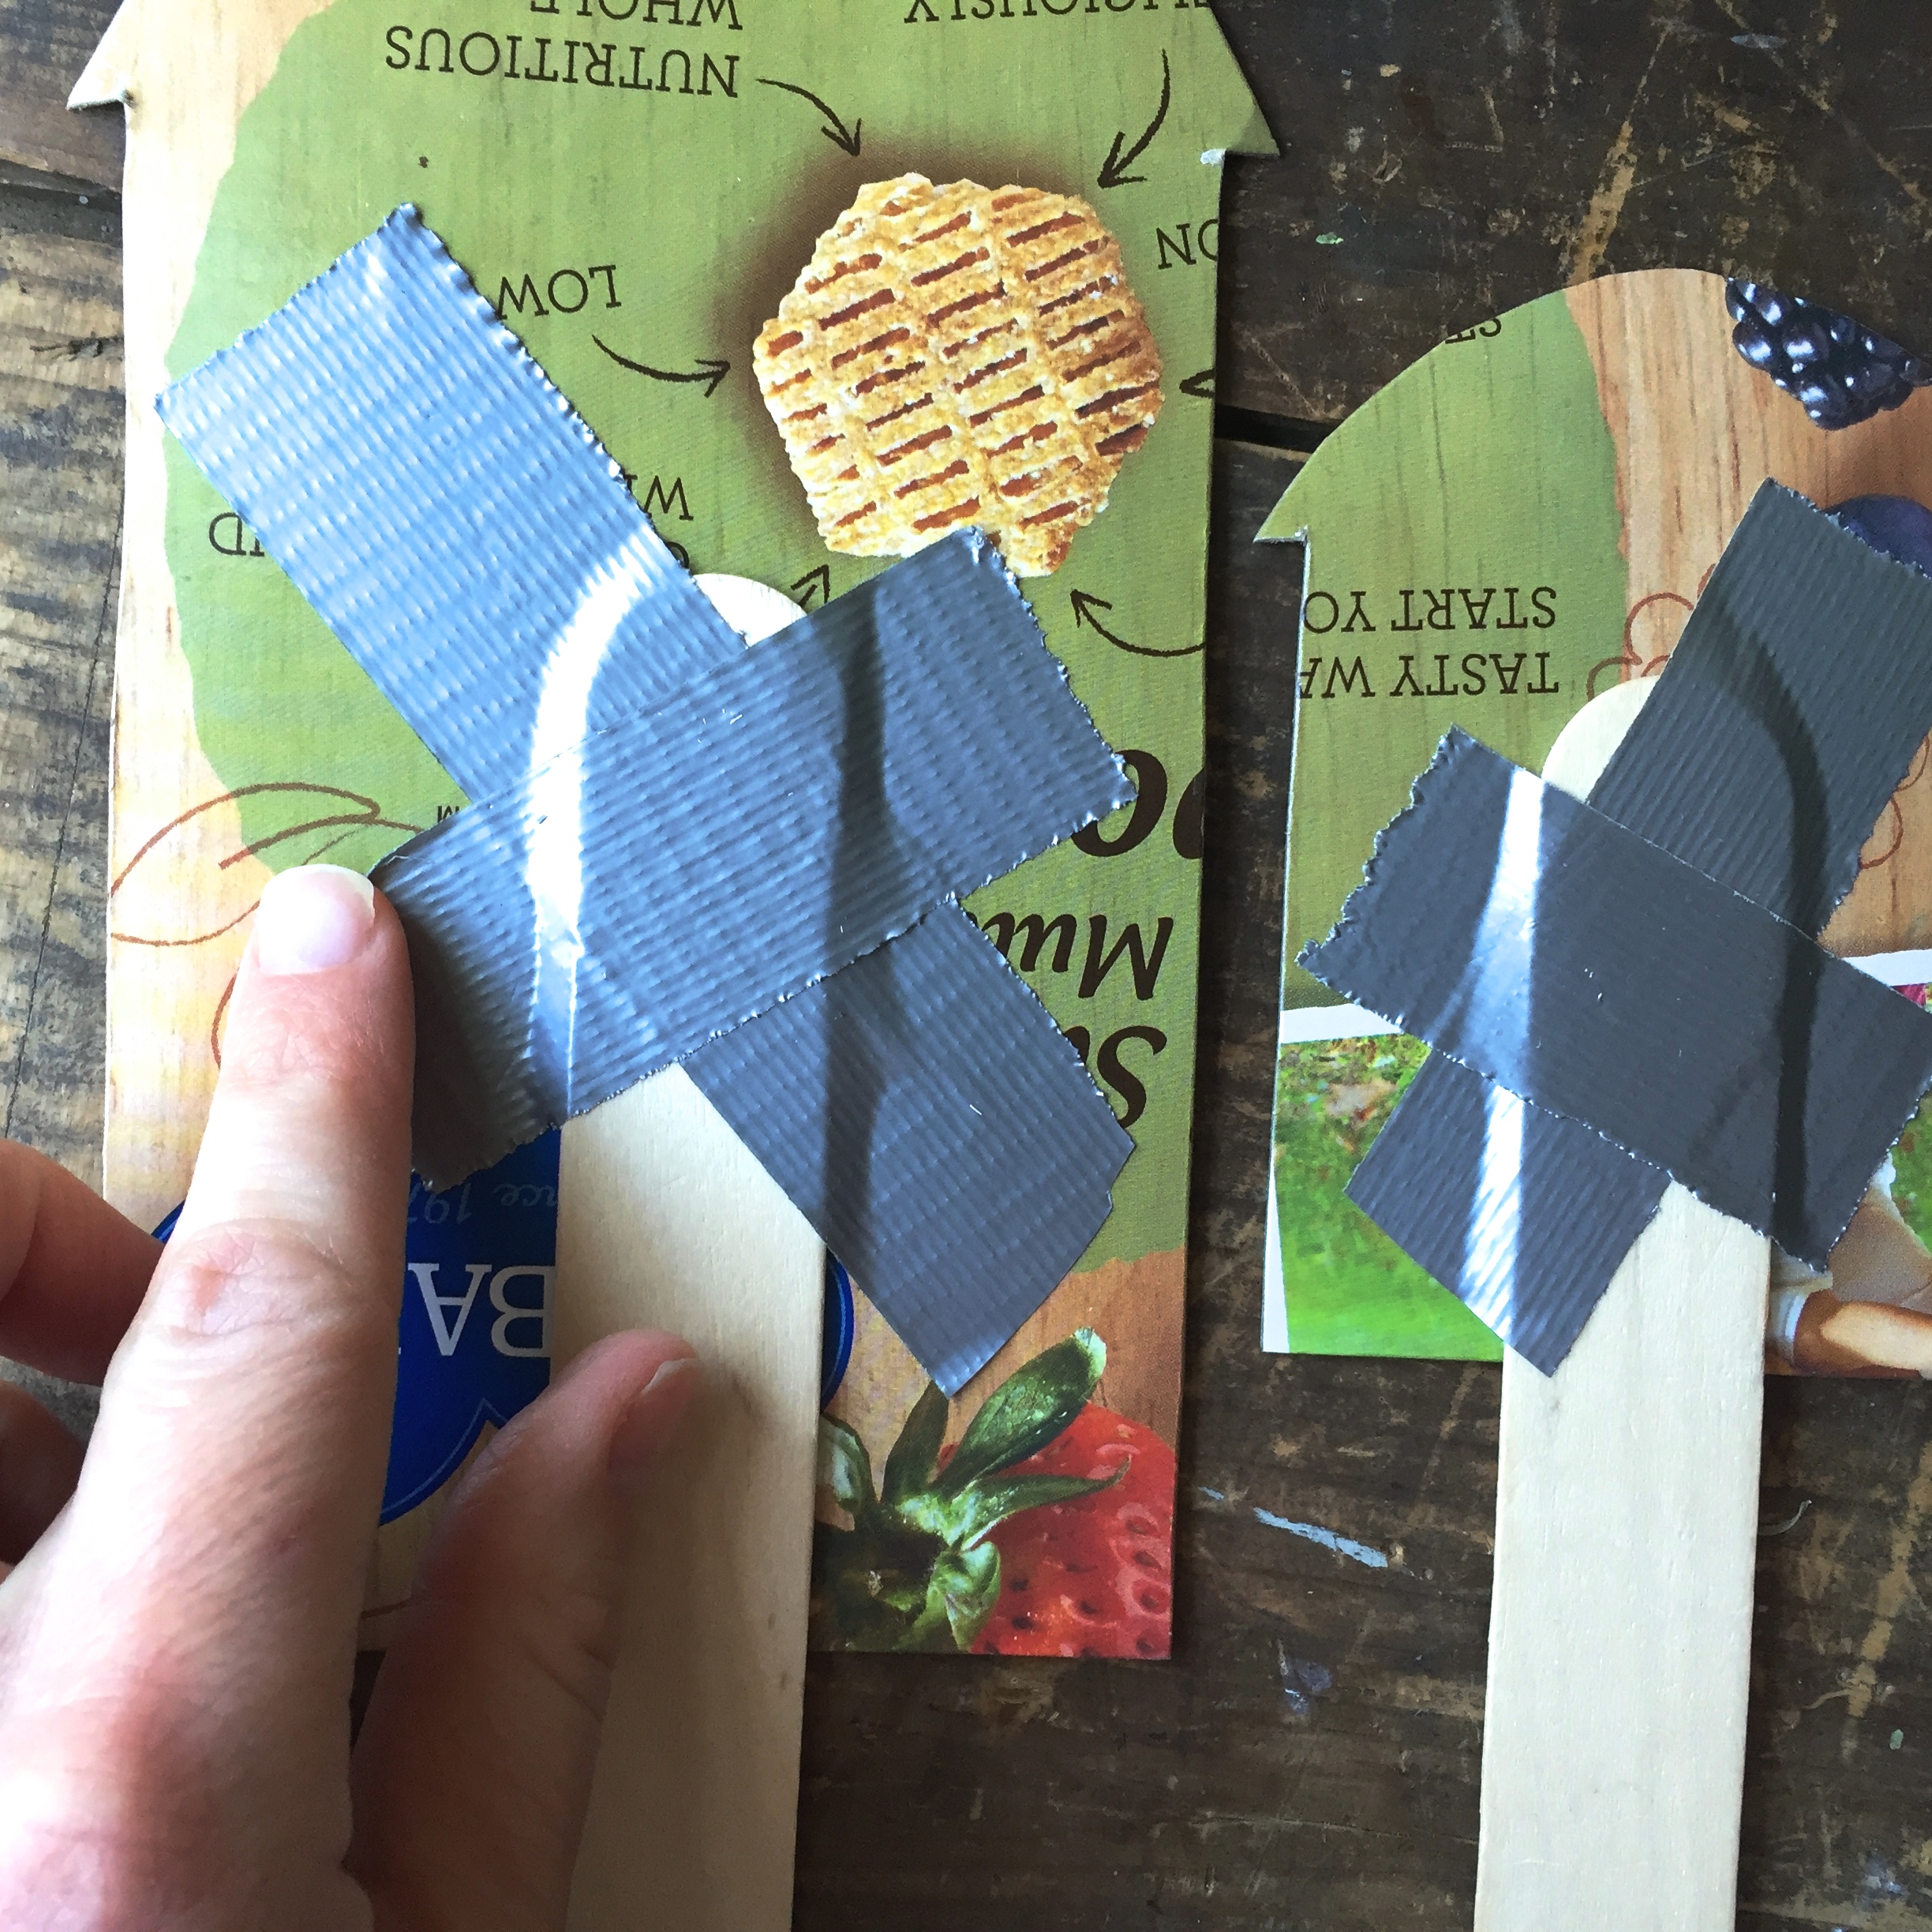 Turn them over, and use duct tape to adhere the craft sticks to the backs. After experimenting, I found that leaving 1-2 inches of craft stick at the bottom was the perfect amount to insert into the earth. Too much stick meant pushing the houses into the earth was tricky.
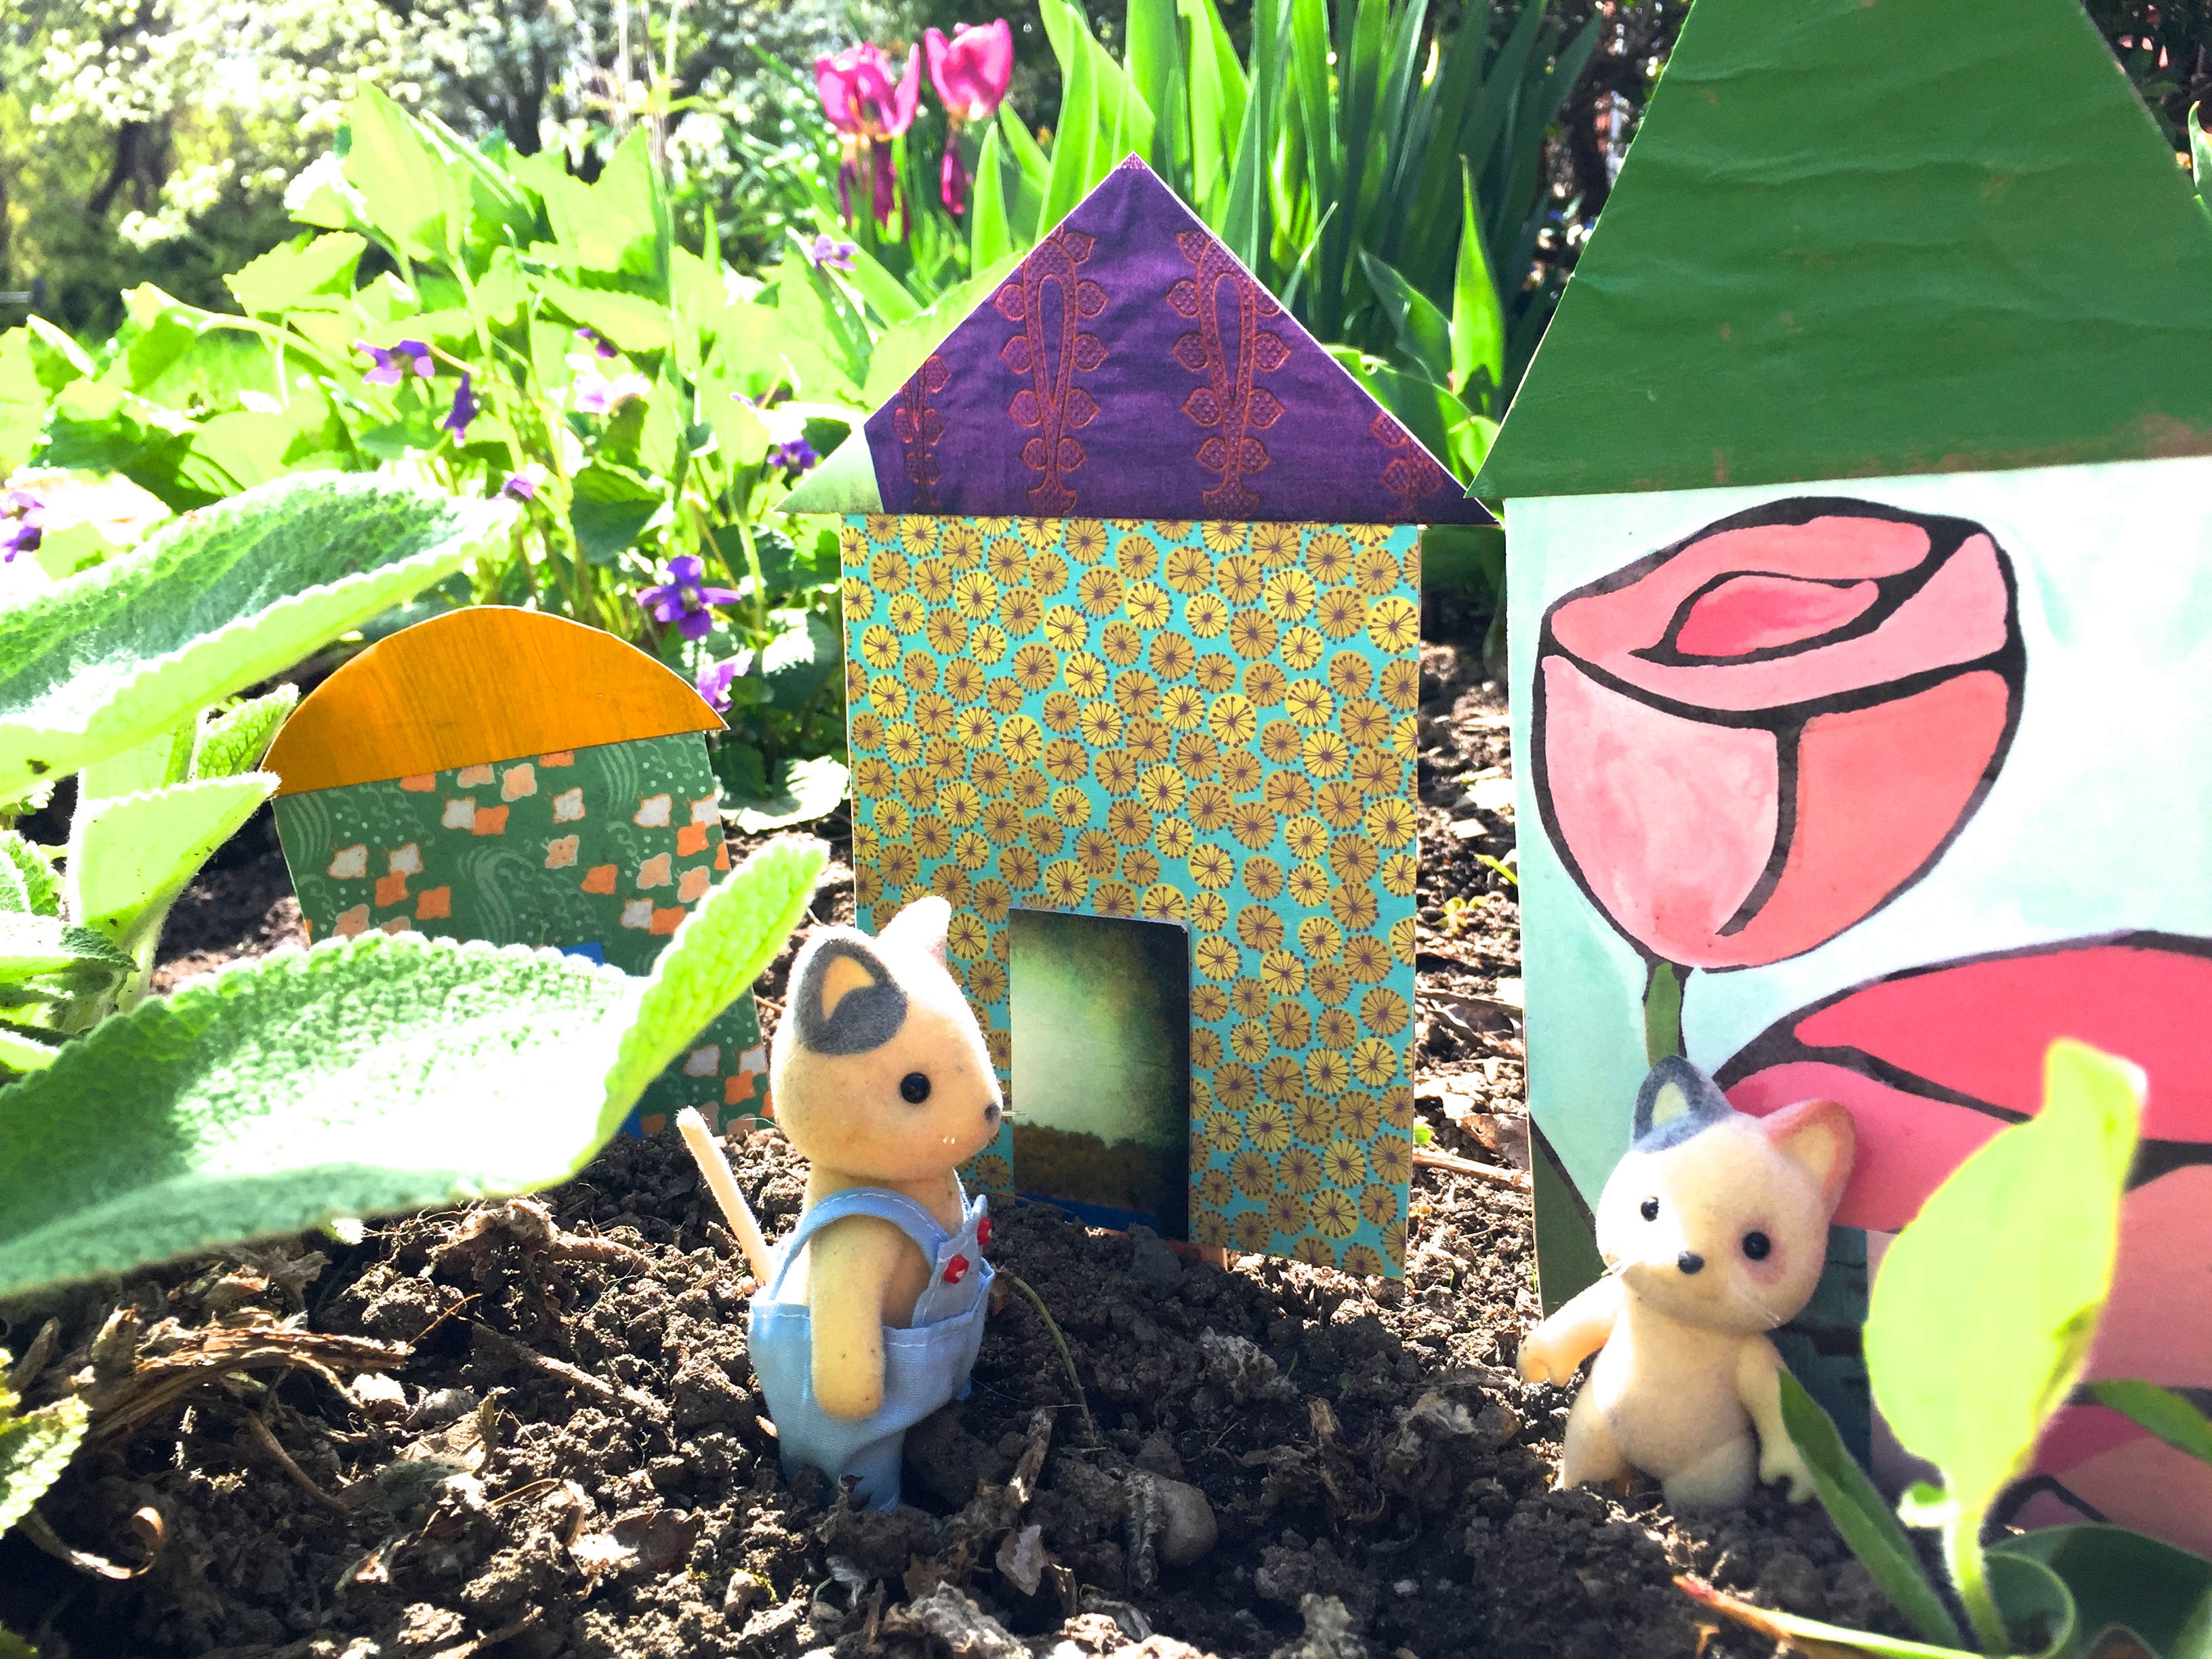
Play, play, play! Invite all of the tiny creatures to the neighborhood. Watch as the homes spark imaginary stories.
Just remember to bring the homes inside at night because dew and rain will make the homes wilt.
Happy building!


So adorable with a touch of magic!
Thanks, Danielle! The butterflies and chipmunks seemed to enjoy the new development. 😉